The checkout page is a crucial part of your eCommerce store, directly impacting conversion rates and customer satisfaction. DigiCommerce offers various settings to optimize your checkout experience, making it more user-friendly and efficient.
Overview of Checkout Settings
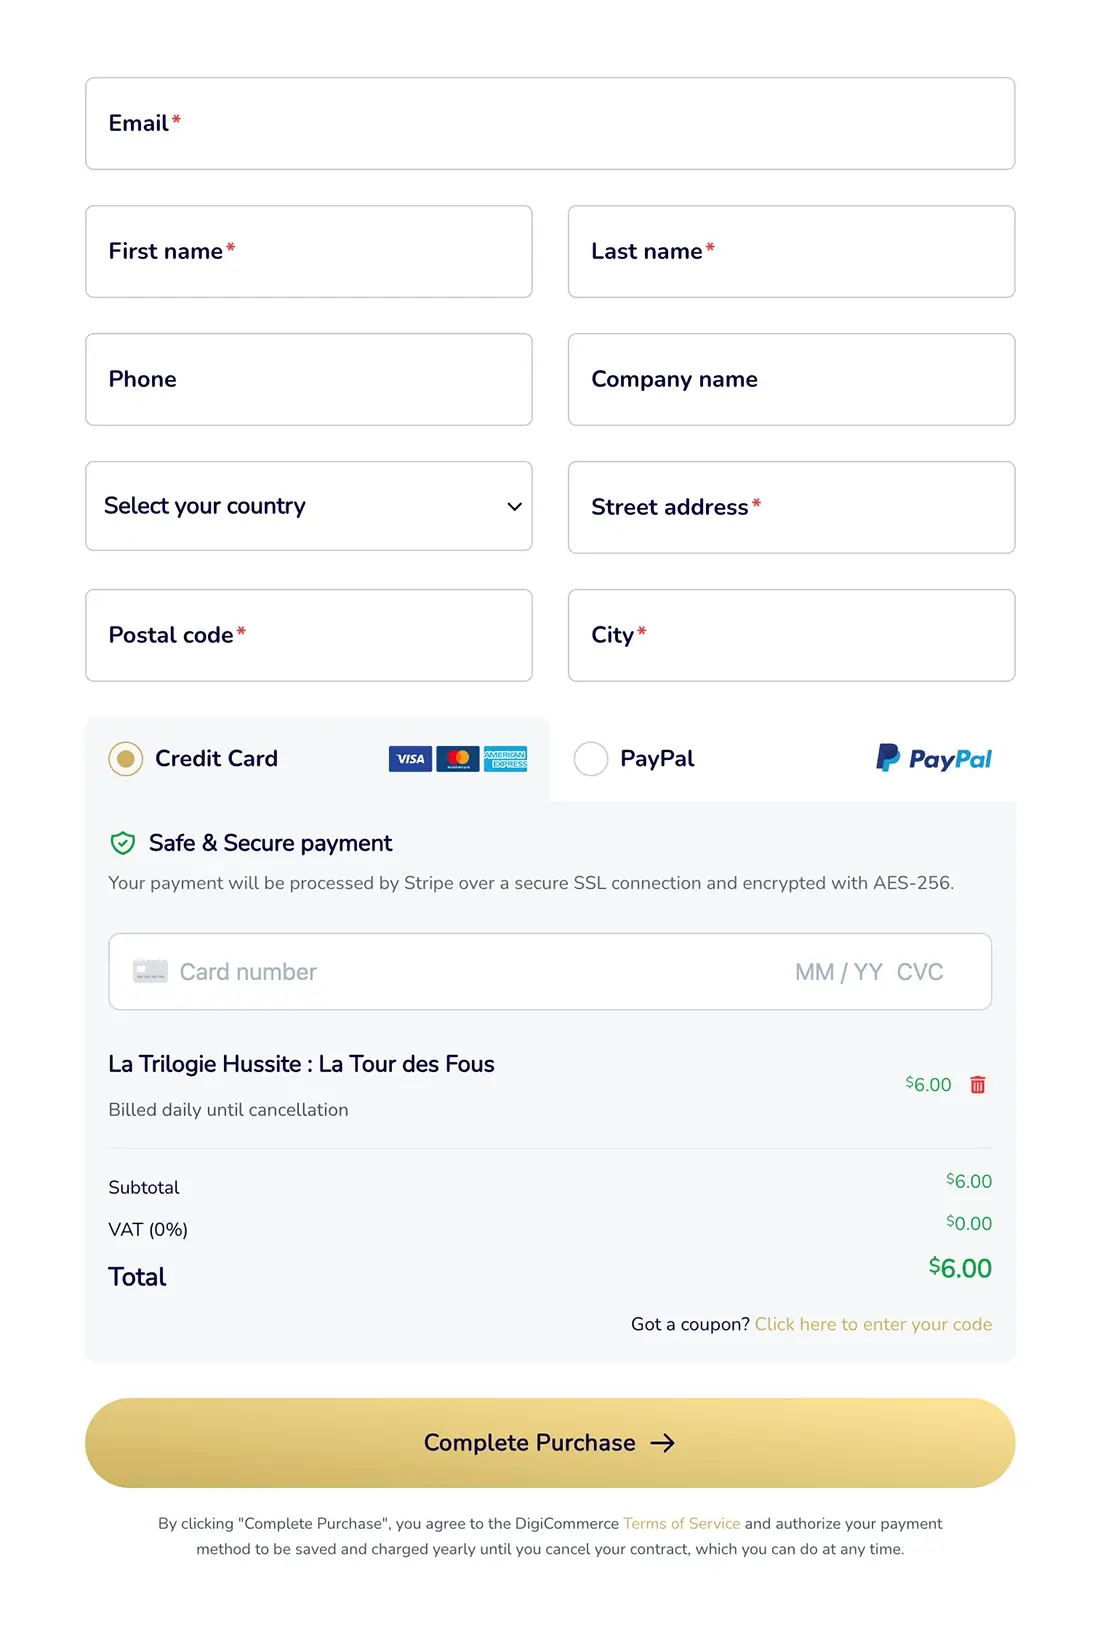
The Checkout tab in DigiCommerce allows you to customize the checkout experience by configuring multiple options that affect taxation, user login, page design, and more. These settings help create a streamlined purchase process tailored to your business needs.
Let’s explore each setting available in the Checkout tab and how to configure them effectively.
Remove Taxes Option
The tax removal feature allows you to completely disable tax calculations on your store.
To disable taxes on your store:
- Navigate to the Checkout tab in DigiCommerce settings
- Find the Remove taxes section
- Check the box labeled If you do not want to charge any VAT, just check this box
- Save your changes
This option is particularly useful for businesses that:
- Don’t need to charge VAT or sales tax
- Handle taxation through external systems
- Offer products with tax-inclusive pricing
Adding a Login Form During Checkout

The login form feature provides returning customers with a convenient way to access their accounts during checkout.
To enable the login form:
- Locate the Login Form section in the Checkout tab
- Check the box next to Add a login form during checkout
- Save your settings
When enabled, customers will see a login option during checkout. After logging in, their information will automatically populate the checkout fields, saving time and reducing friction in the purchase process.
Minimal Style for Checkout
The Minimal Style option gives your checkout page a cleaner, more streamlined appearance.
To enable Minimal Style:
- Find the Minimal Style section
- Check the box labeled Revamp the checkout page with a cleaner and more minimalistic template
- Save your changes
This setting removes visual clutter and creates a more focused checkout experience, potentially increasing conversion rates by reducing distractions.
Minimal Fields
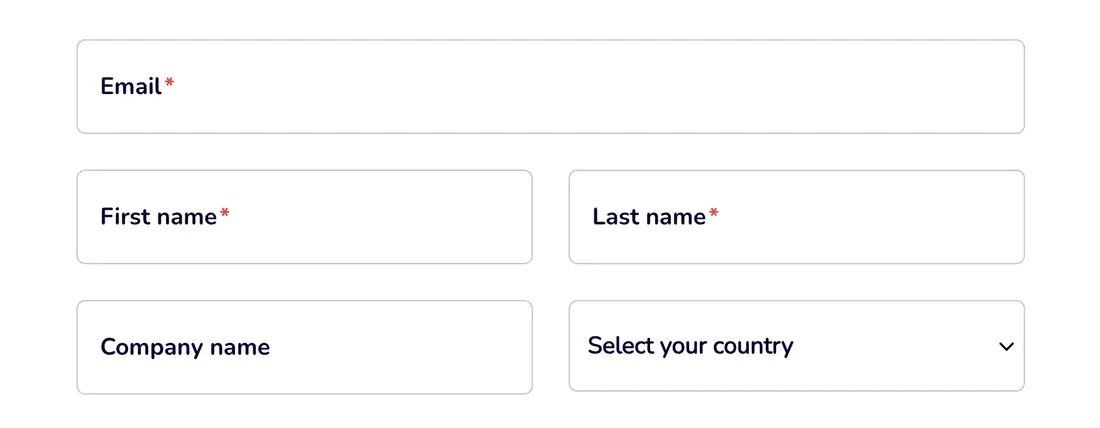
The Minimal Fields option reduces the number of required fields during checkout, creating a faster purchase process.
To enable Minimal Fields:
- Go to the Minimal Fields section
- Check the box for Reduce the number of fields to only the essential ones
- Save your settings
When enabled, DigiCommerce will only display essential fields necessary to complete the purchase, streamlining the checkout process and potentially reducing cart abandonment rates.
Order Agreement Text
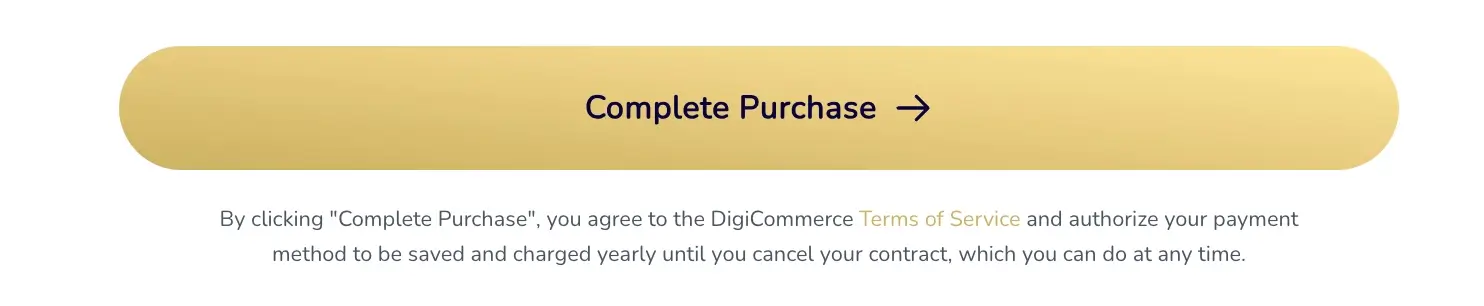
The Order Agreement feature allows you to display important terms or information below the order button.
To configure the Order Agreement text:
- Find the Order Agreement section
- Use the text editor to enter your agreement text
- You can include HTML content, such as links to your terms and conditions page
- Save your changes
This text appears after the order button at checkout, allowing you to display important legal information or reassuring messages to customers before they complete their purchase.
Modal Terms
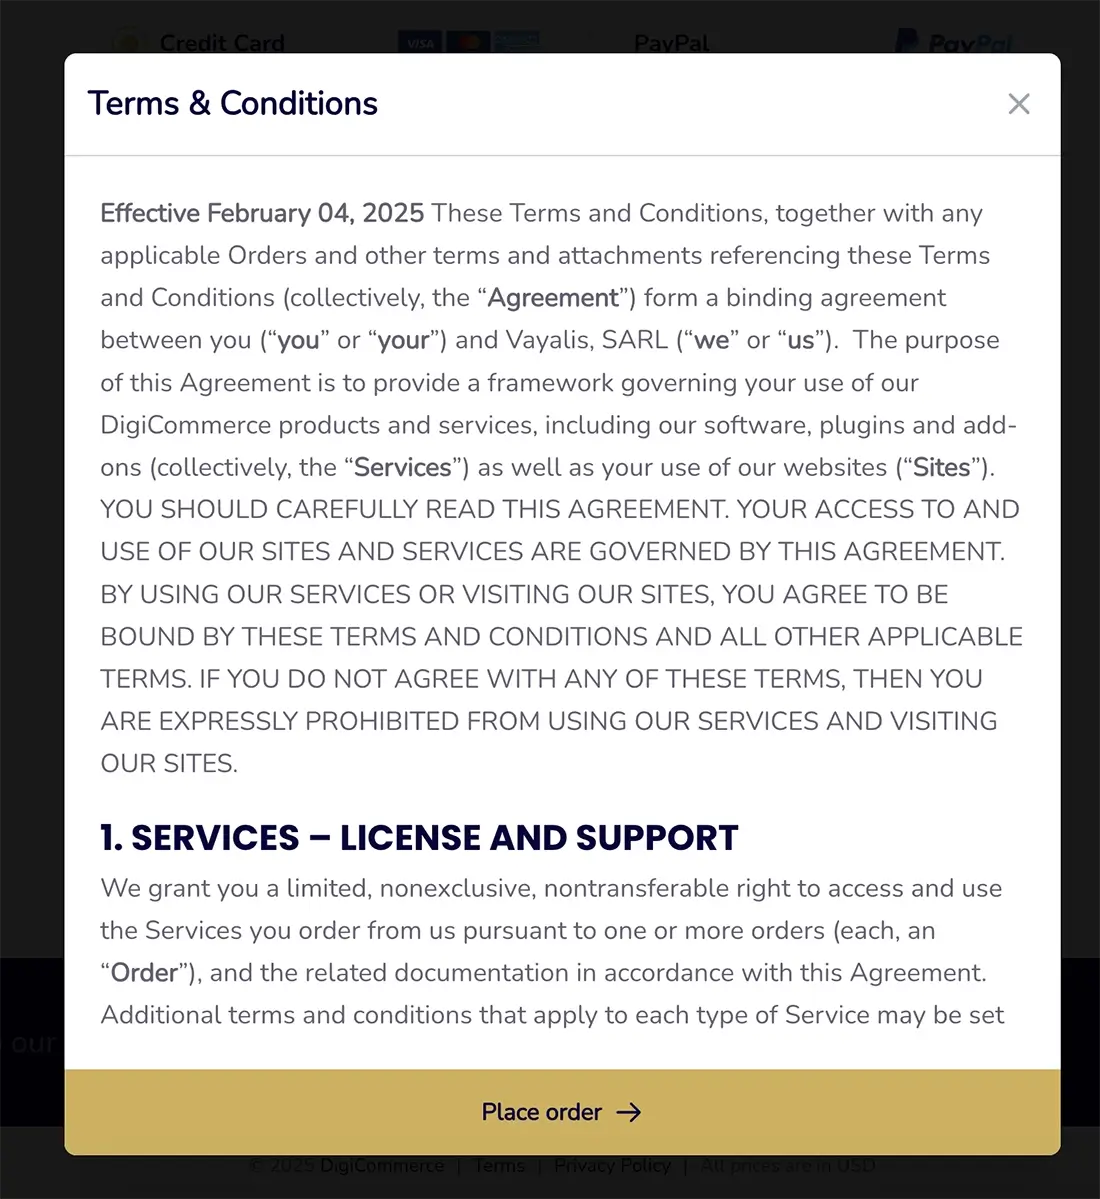
The Modal Terms feature allows you to display your terms and conditions in a popup modal window.
To set up Modal Terms:
- Locate the Modal Terms section
- Enter your terms and conditions in the text editor
- Save your settings
- To link to this modal, add a link with the modal class in your Order Agreement text
This creates a cleaner checkout page while still making important legal information easily accessible to customers.
Remove Product Option

This feature prevents customers from removing items from their cart during checkout.
To enable the Remove Product option:
- Find the Remove product section
- Check the box labeled Remove the delete button on the checkout page
- Save your settings
When enabled, customers will not be able to remove items once they’re on the checkout page, which can help prevent abandoned carts and incomplete purchases.
Empty Cart Settings
The Empty Cart settings allow you to customize what customers see when their cart is empty.
To configure Empty Cart settings:
- Navigate to the Empty cart settings section
- Fill in the following fields:
- Title: The heading text for the empty cart page
- Text: A message explaining that the cart is empty
- Button Text: The text displayed on the call-to-action button
- Button URL: Where customers will be directed when clicking the button
These settings help create a better user experience when customers view an empty cart, guiding them toward product pages to continue shopping.
Best Practices for Checkout Configuration
For optimal results with your checkout page:
- Keep your Order Agreement text clear and concise
- Use Minimal Style and Minimal Fields for faster checkout experiences
- Consider enabling the login form to improve the experience for returning customers
- Customize your empty cart messages to encourage continued shopping
- Test your checkout process regularly to ensure a smooth experience
By carefully configuring these checkout settings, you can create an optimized purchase experience that increases conversions while providing customers with all the information they need.