This guide explains how to configure email settings in the DigiCommerce plugin to ensure effective communication with your customers. You’ll learn how to set up sender details, customize email branding, manage notifications, and configure footer text and social media links.
Sender Details
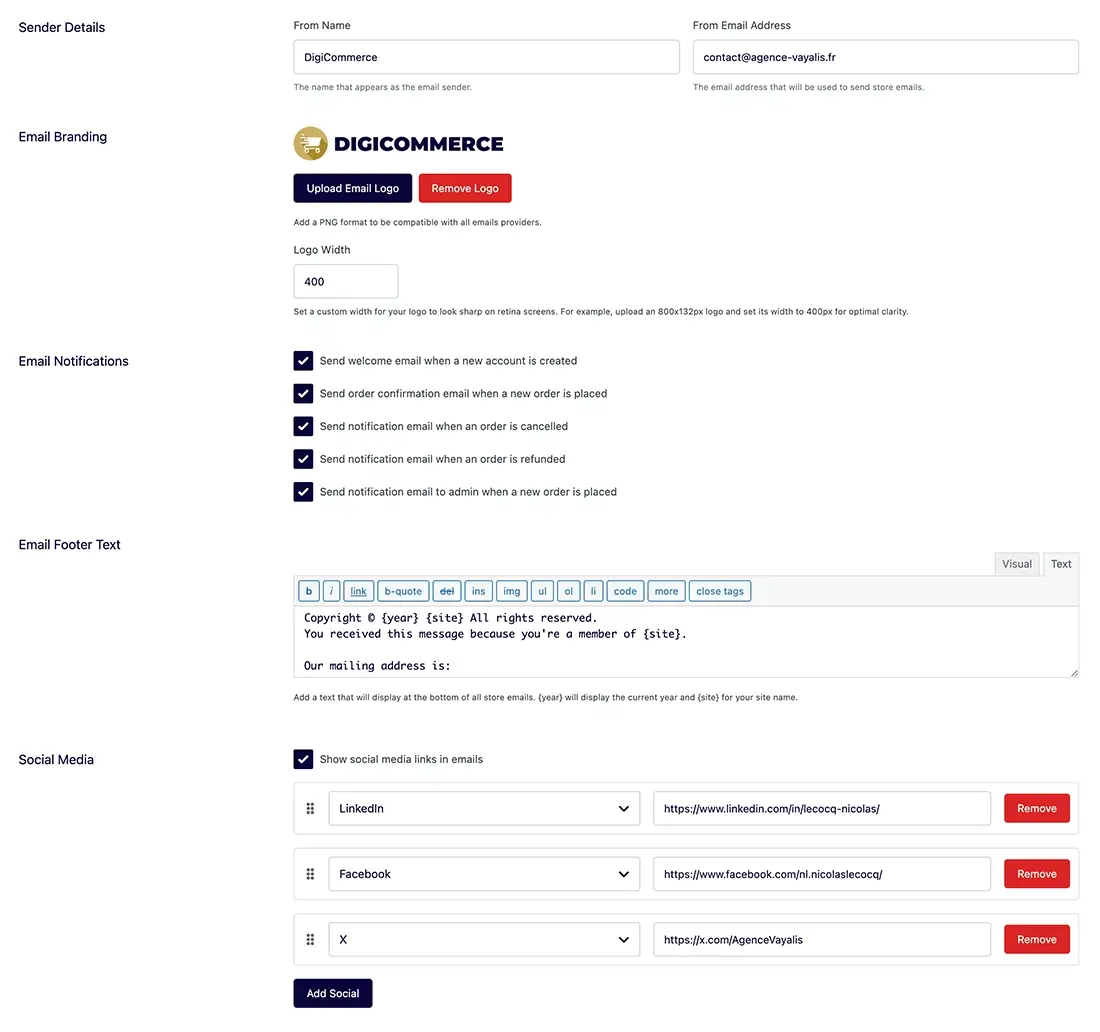
The sender details section allows you to customize how your store appears in customers’ inboxes:
- From Name: Enter the name that will appear as the sender of all store emails. This is typically your store or company name.
- From Email Address: Enter the email address that will be used to send all store communications. It’s recommended to use a domain-specific email (e.g., [email protected]) rather than a generic one.
Email Branding
Customize the visual appearance of your emails to maintain brand consistency:
- Email Header Logo: Upload a logo image in PNG format for compatibility with all email providers. Click the “Upload Email Logo” button to select your image, or “Remove Logo” if you want to delete the current one.
- Logo Width: Set a custom width for your logo in pixels. For optimal display on high-resolution screens, you can upload a larger image and set a smaller display width. For example, upload an 800×132px logo and set its width to 400px for better clarity on retina displays.
Email Notifications
Control which emails are sent automatically by your store:
- New Account Email: Enable to send a welcome email when a customer creates a new account.
- Order Confirmation: Enable to send an email when a customer places a new order.
- Order Cancelled: Enable to notify customers when their order has been cancelled.
- Order Refunded: Enable to send a notification when an order has been refunded.
- Admin New Order: Enable to receive a notification email as an administrator when a new order is placed.
Email Footer Text
Add a custom footer message that appears at the bottom of all store emails:
- Use the text editor to format your message with basic styling options.
- You can include dynamic variables like
{year}to display the current year and{site}to show your site name. - This is a good place to include your business address, contact information, or copyright notice.
Social Media
Add social media links to your store emails to enhance customer engagement:
- Check the “Show social media links in emails” option to enable this feature.
- Add your social profiles by clicking the “Add Social” button.
- For each social platform:
- Select the platform from the dropdown menu (Facebook, X, Instagram, LinkedIn, YouTube, Pinterest, TikTok, or GitHub).
- Enter the full URL to your profile.
- Use the drag handle to reorder your social links.
- Click “Remove” to delete unwanted social links.
These social links will appear in the footer of your emails, making it easy for customers to connect with you on their preferred platforms.